Tuesday 16 February 2016

3 ingredient Nutella Brownies


I'm a little late to the game but better late than never. It was World Nutella day on Feb 5th so I baked some Nutella brownies but have not gotten round to blogging about them. This recipe has been going round the blogosphere and I finally got to try it. Only 3 ingredients for amazing chocolatey, gooey brownies. It does make you realise how much fat and sugar Nutella contains but I'll just ignore that for now and munch on these brownies! These are really quick to prepare and would be perfect to impress last minute guests especially if like me you always have a spare jar of Nutella in the house.

I've baked these 3 times now as they are just so good and everyone keeps asking for the recipe. If you've tried it or are planning to try it, do let me know. I think it would taste great with some added chopped nuts or chocolate chips for extra decadence. 

I'm sending this to a few blog challenges this month.

Treat Petite which is guest hosted by Lisa from United Cakedom on behalf of Kat from The Baking Explorer and Stuart from Cakeyboi. The theme this month is Like It, Love It, Gotta Have It. I love Nutella and can (sometimes) be found eating Nutella straight from the jar. 


Simply Eggcellent hosted by Dom from Belleau Kitchen. The theme this month is anything goes and this recipe uses 2 large free range eggs. 


#FoodYearLinkUp hosted by Charlotte from Charlotte's Lively Kitchen for World Nutella Day. 


Cook Blog Share hosted by Kirsty from Hijacked by Twins


Recipe of the Week hosted by Emily from A Mummy Too. 


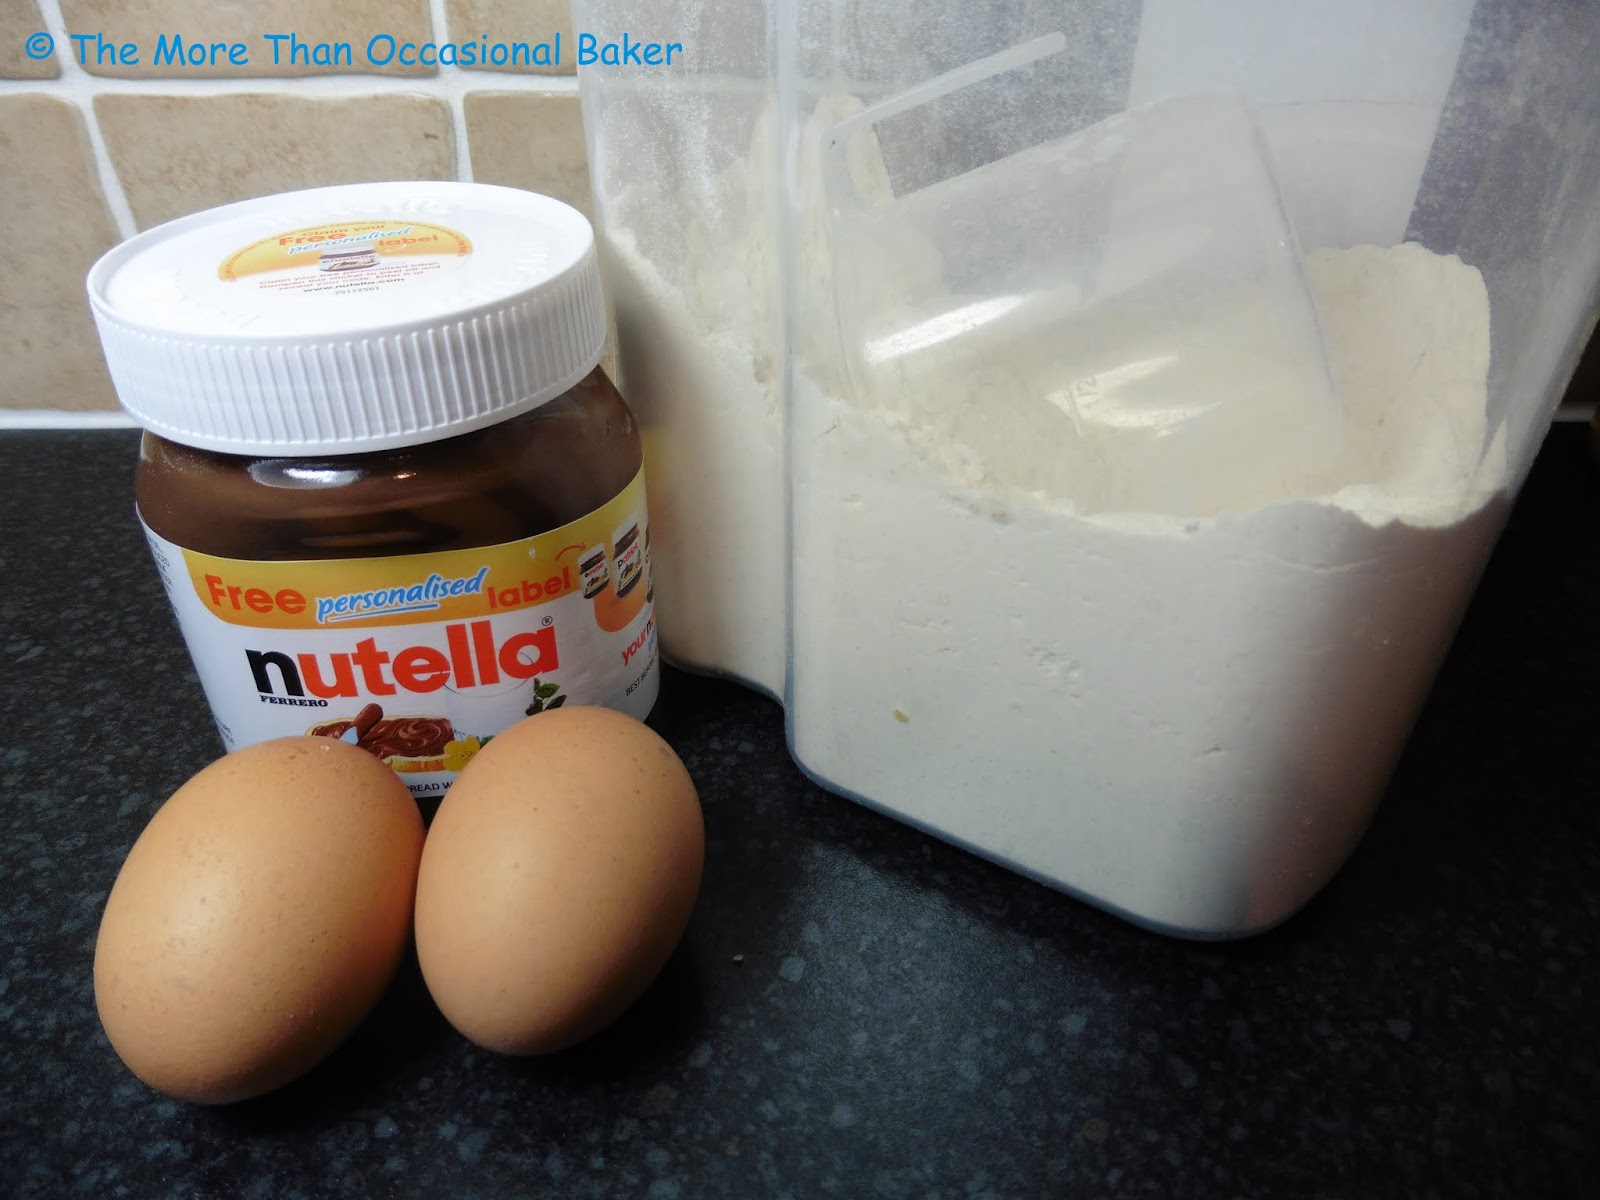
 3 ingredients - Nutella, eggs, plain flour 


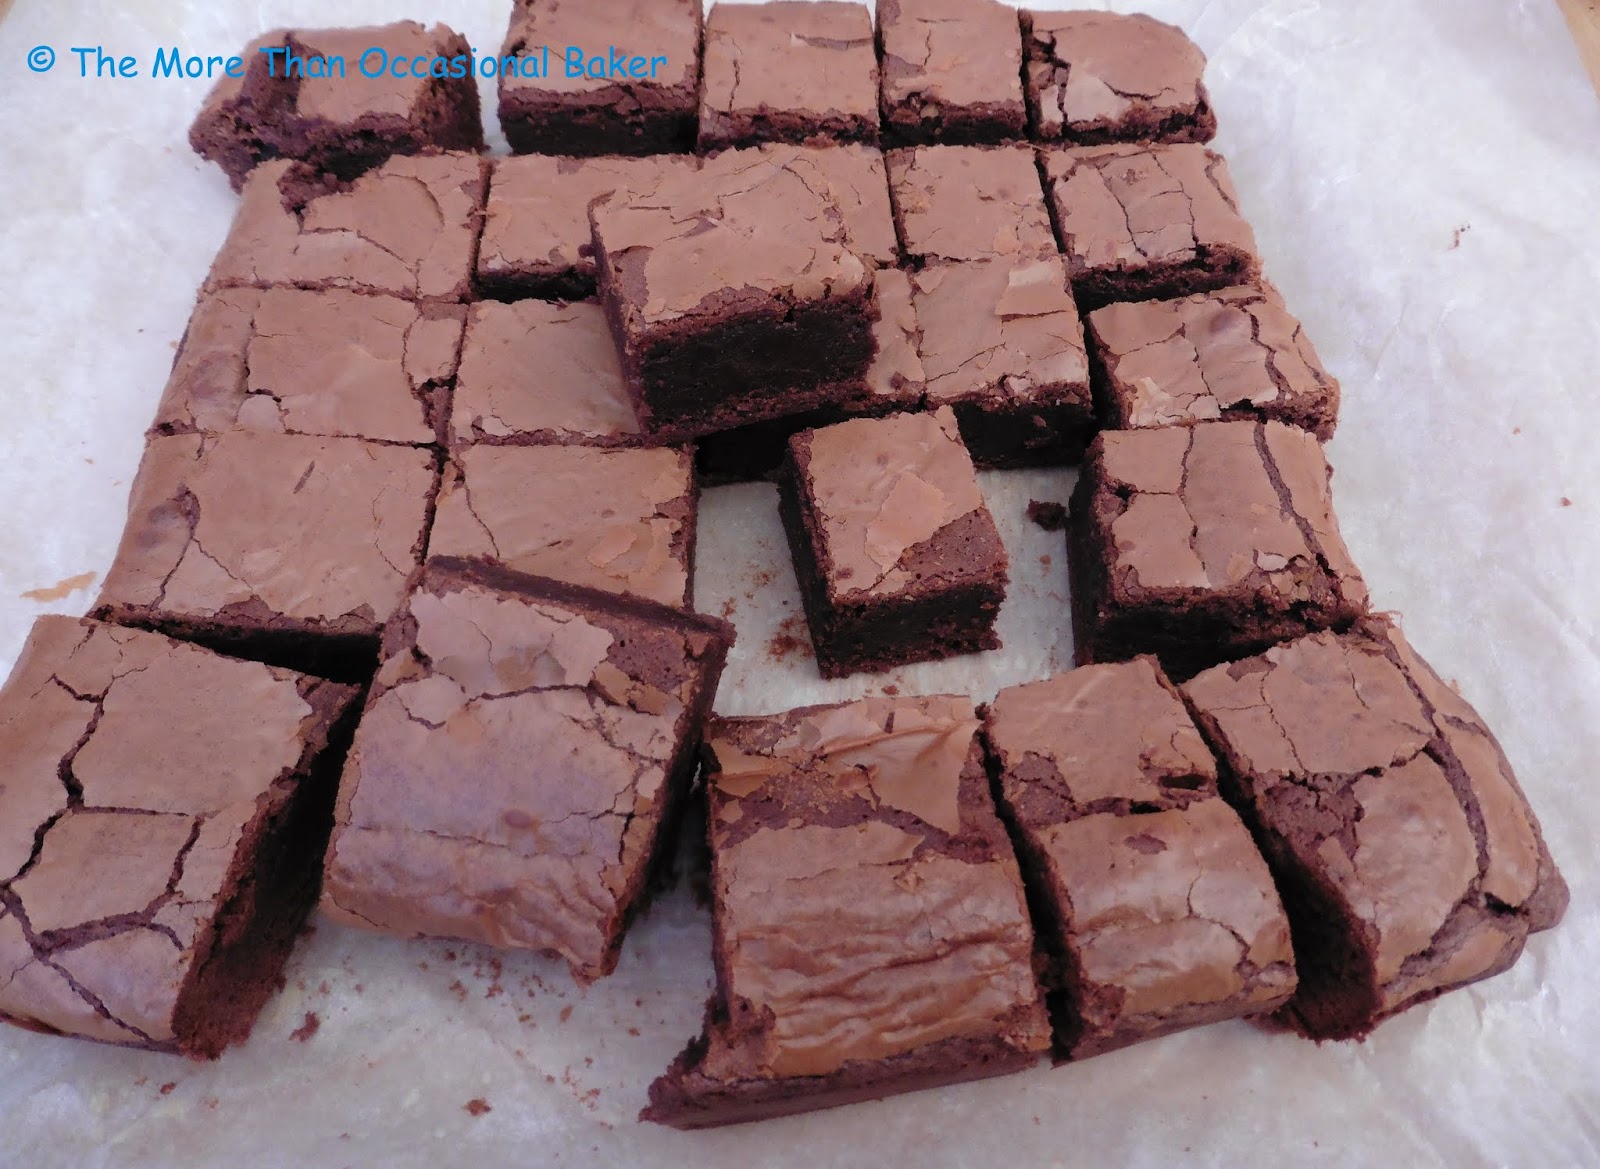
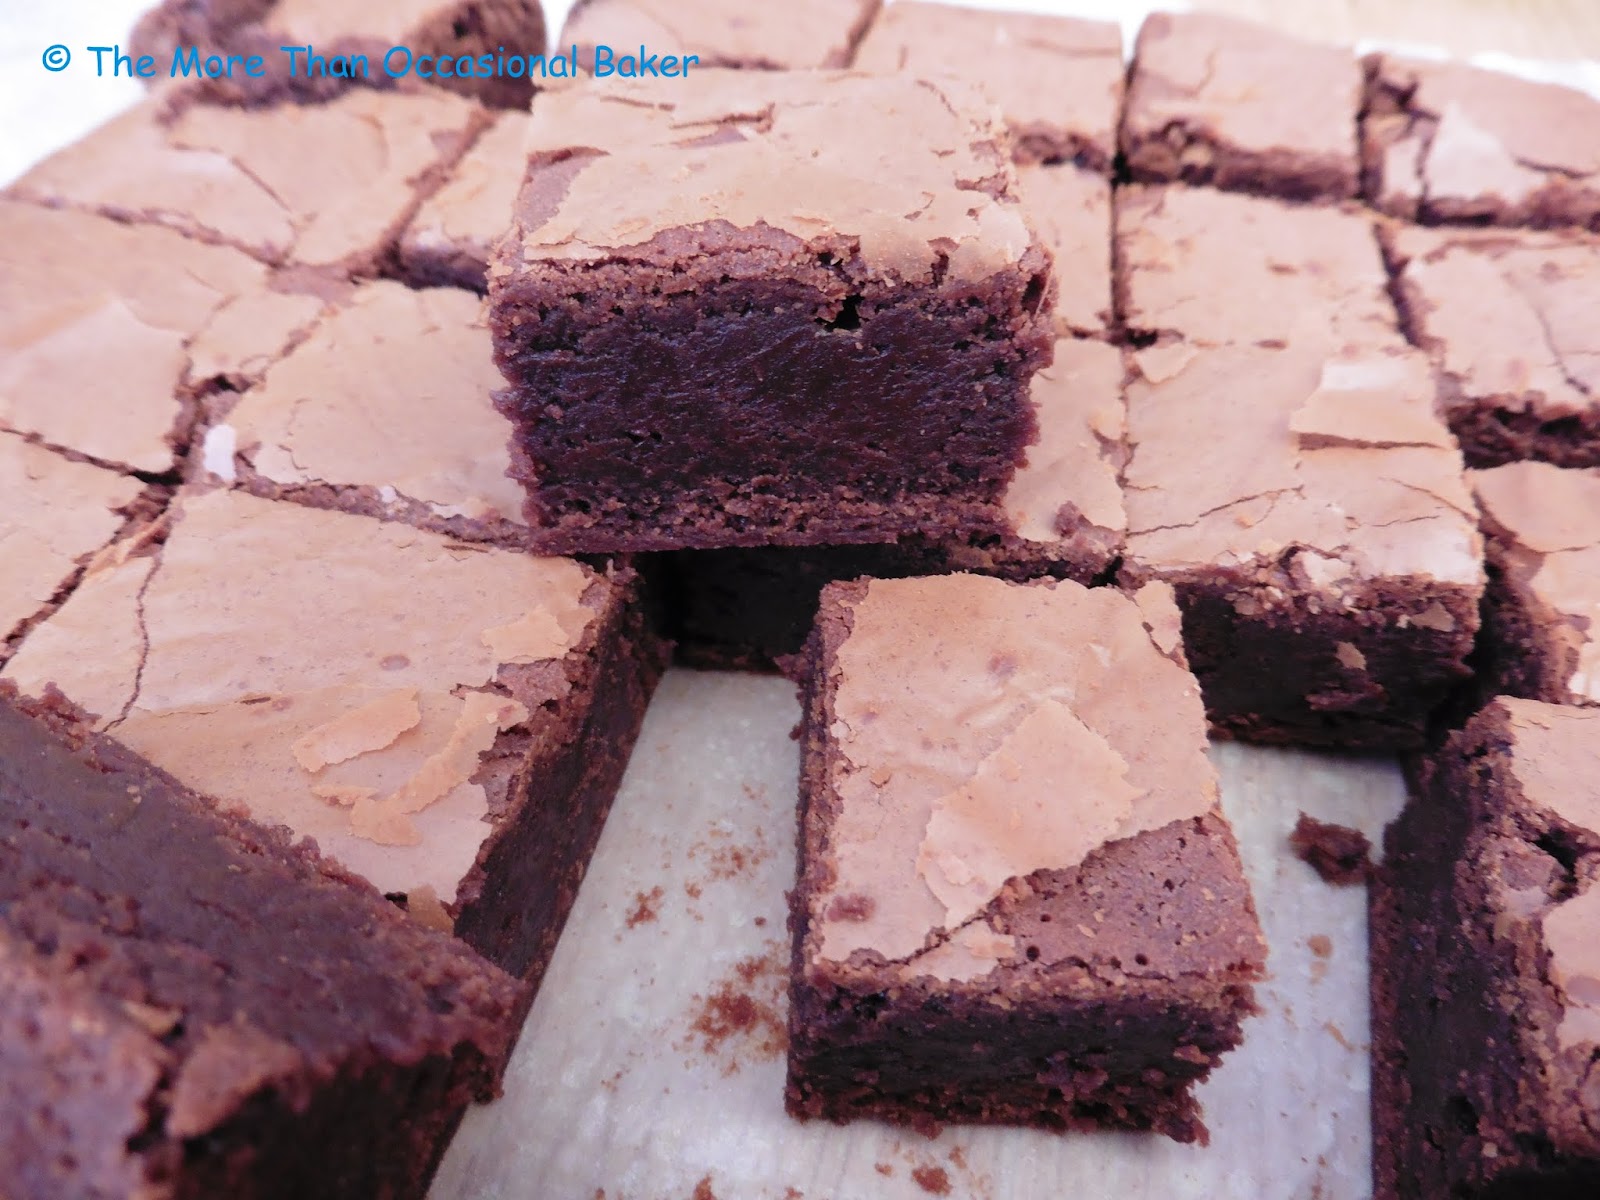
 Lovely gooey brownies 


(You need a double recipe for a 8.5inch x 8.5inch square tin, otherwise use a 18cm sandwich tin for 1 recipe)

Ingredients for ONE recipe
2 large free range eggs
370g Nutella
65g plain flour, sifted

  • Preheat the oven to 180C.
  • In a large bowl, mix all the ingredients together until smooth.
  • Pour into a greased and lined tin and bake for approximately 20-25 minutes depending on the size of your tin.
  • The brownies should be cooked round the edges but still soft in the middle.
  • Allow to cool in the tin before slicing into squares.


Thursday 11 February 2016

Plum and Blueberry Yoghurt Cake


When Caroline announced that this month's AlphaBakes letter is 'Y',I immediately thought of yoghurt. I love baking with yoghurt and tend to use it in muffins and banana bread. I found this great recipe online for a Peach and Blueberry Greek Yoghurt Cake so I decided to give it a go. Plums were on sale in the supermarket so I used plums instead of peaches and it worked beautifully. I'm sure nectarines or even pears would work well too. The cake is really colourful and visually appealing. The sponge is light and the added fruit on top makes it feel almost healthy. 

I'm sending this to AlphaBakes hosted by Caroline from Caroline Makes this month and myself on alternate months. The letter is Y for yoghurt. 


It's also going to Recipe of the Week hosted by Emily from A Mummy Too


 sponge base 

 adding lovely fresh fruit on top 


 look at all the lovely colours 


Recipe from Julia's Album
The only changes I made was to reduce the amount of sugar, replace the peaches with plums and adding in some brown sugar before baking.

185g flour
1 tsp baking powder
1/2 tsp bicarbonate of soda
56g butter, softened
180g caster sugar
2 eggs
1 tsp vanilla extract
125mls Greek yogurt
4 plum, sliced
170g blueberries
3-4 teaspoons light brown sugar (optional) 

  • Preheat oven to 180C. 
  • Grease and line a 23cm diameter springform tin.
  • Sift the flour, baking powder and bicarbonate of soda in a bowl. 
  • In the bowl of a mixer, beat the butter and sugar together for a few minutes.
  • Add in the eggs, one at a time and mix well.
  • Add in the yoghurt and vanilla extract.
  • Stir in the flour mixture and continue mixing. 
  • Pour the batter into the prepared cake tin.
  • Arrange the plum slices in a circular fashion on top.
  • Sprinkle the bluberries on top.
  • If using, sprinkle a few teaspoons of light brown sugar on top before baking. 
  • Bake for approximately 45 - 50 minutes until golden brown and a skewer inserted into the centre comes out clean. 
  • Allow to cool completely in the tin before releasing and serving. 


Monday 8 February 2016

Chcocolate Peanut Butter Monkey Cake


Happy Chinese New Year! Today is the first day of the lunar calendar and it's the year of the Monkey. Wishing all my readers good health, prosperity and happiness. We had a little party at the weekend to celebrate the occasion. As it's a monkey year, I decided to make a monkey cake. Unfortunately I didn't deocrate it in time for the party so J has taken it to work today to share with his colleagues. It's a chocolate cake filled with peanut butter frosting. The decoration is simple yet effective albeit a bit messy to decorate! If you have kids, they will definitely enjoy decorating this cake with you. Chinese New Year goes on for 15 days so you have plenty of time to impress your family and friends with this cake. 

I'm sending this to #FoodYearLinkUp hosted by Charlotte from Charlotte's Lively Kitchen for Chinese New Year. 


It's also going to Love Cake hosted by Ness from Jibber Jabber UK. The theme this month is The Month Of Cake as it's the anniversary of the challenge. 


Finally to Simply Eggcellent hosted by Dom from Belleau Kitchen as the theme this month is Anything Goes. There's 2 large free range eggs in this cake.


 The cake batter is very liquid - don't worry it bakes beautifully. 

 spread peanut butter frosting on top of the first layer of cake 

 Add second layer of cake. I used a cocktail stick to roughly draw an outline of a monkey face. I'm terrible at drawing!! 

 Spread the peanut butter frosting where the monkey face will be 
 
 Carefully spread the chocolate ganache over the rest of the cake including the sides

 Press chocolate rice cereal on to the chocolate ganache. I used 2 white candy melts for the eyes and piped some chocolate ganache for the eye balls, nose and mouth (which was a littlewonky!) The ears are tiny as I didn't have any ginger biscuits at home and used golden Oreo cookies instead. 

Recipe from Bird on A Cake 
I reduced the sugar amount, substituted chocolate extract for vanilla extract and used more milk in the frosting 

For the cakes 
1 cup (250mls) boiling water
350g caster sugar
220g plain flour  
85 cocoa powder, sifted
2 teaspoon bicarbonate of soda
1 teaspoon baking powder
2 large, free range eggs
1 cup (250mls) buttermilk
1/2 cup (125mls) vegetable oil
1 teaspoon chocolate extract 

Peanut butter frosting
250g smooth peanut butter
113g butter
250g icing sugar
40-50 mls milk

Chocolate Ganache
175g dark chocolate 
80mls double cream
20g butter

To decorate
2 white candy melts
2 large cookies for the ears - I used golden oreos but they are too small, recommend ginger biscuits or digestive biscuit
Choco rice cereal 

  • Preheat the oven to 180C. 
  • Sift the flour, sugar, cocoa powder, bicarbonate of soda and baking powder in a bowl.
  • Place the dry ingredients in the bowl of a stand mixer and add in the eggs, buttermilk, oil and chocolate extract.
  • Mix well.
  • Slowly pour in the water and continue mixing at a low speed until you have a smooth mixture. 
  • The batter will be very liquid, this is normal.
  • Divide the batter evenly between 2 sandwich tins and bake for approximately 30 - 35 minutes or until a skewer inserted into the centre comes out clean.
  • Allow the cakes to cool for 5 minutes in the tin before turning out to a wire rack to cool completely.
  • To make the peanut butter frosting, beat the peanut butter and butter until smooth.
  • Add in the icing sugar and continue beating.
  • Slowly add in the milk with the mixer running.
  • You  may need to add a little more or a little less of the milk depending on the consistency of your icing. You want a smooth, spreadable paste. 
  • To make the chocolate ganache, place the cream in a small saucepan and heat gently until bubbles are just visible. 
  • Add in the chocolate and whisk until smooth.
  • Remove from the heat.
  • Add in the butter and continue whisking until smooth.
  • Allow to cool and set a little before using.
  • Decorate the cake as shown above.