I was assigned Food Babbles as my Secret Recipe Club blog this month. One of the great things about Secret Recipe Club is discovering new blogs in detail. The idea is simple - each month you are assigned a blog and you have to make something from that blog. Everyone posts on the same day at the same time.
If you've never visited Food Babbles, I highly recommend a visit and be prepared to spend hours on her blog. It has lots of interesting recipes with beautiful photography. I'll let her tell you about herself in her own words: "So… I’m just a girl with a passion for good food. I am a mostly stay-at-home-mom, part-time paramedic, baker, and amateur fotog. This blog combines three things I truly love… food, photography and writing. I love to cook and create. I especially love baking! I want to share my love of these things with you. It makes me a better cook and has given me a whole new perspective."
I had a hard time choosing which recipe to make as usual as there were so many to choose from. In the end I chose these amazing looking brownies especially when she mentioned that these brownies have been featured in O magazine and were awarded the honor of best brownie by America’s Test Kitchen and the Today show. Enough said.
These are one of the best brownies I've ever tried and trust me I've eaten a LOT of brownies in my lifetime!! They were really moist and fudgy and I really liked the kick of the espresso. It's any choc-a-holics dream. I've already made 2 batches of these and have been asked to make more. I'll be baking a few more batches for a charity bake sale next week.

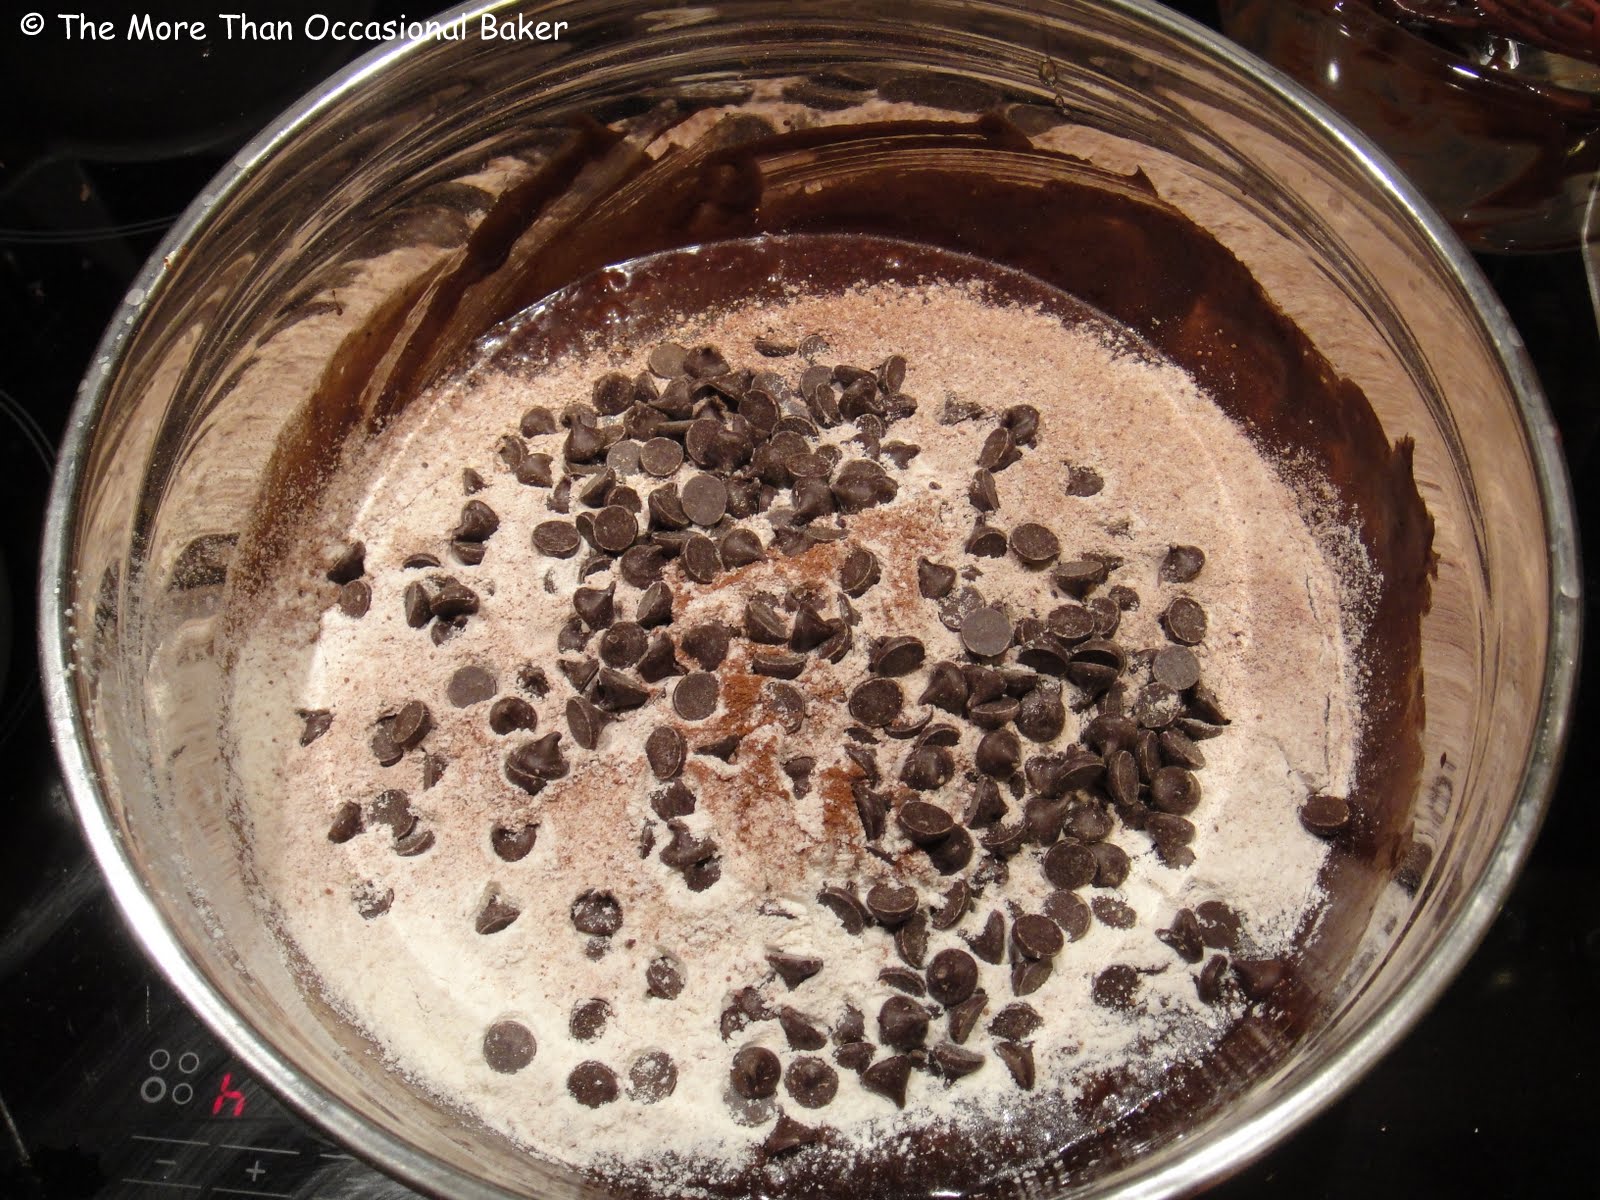 sprinkling the flour mixture and chocolate chip over the cooked chocolate mixture
  freshly baked
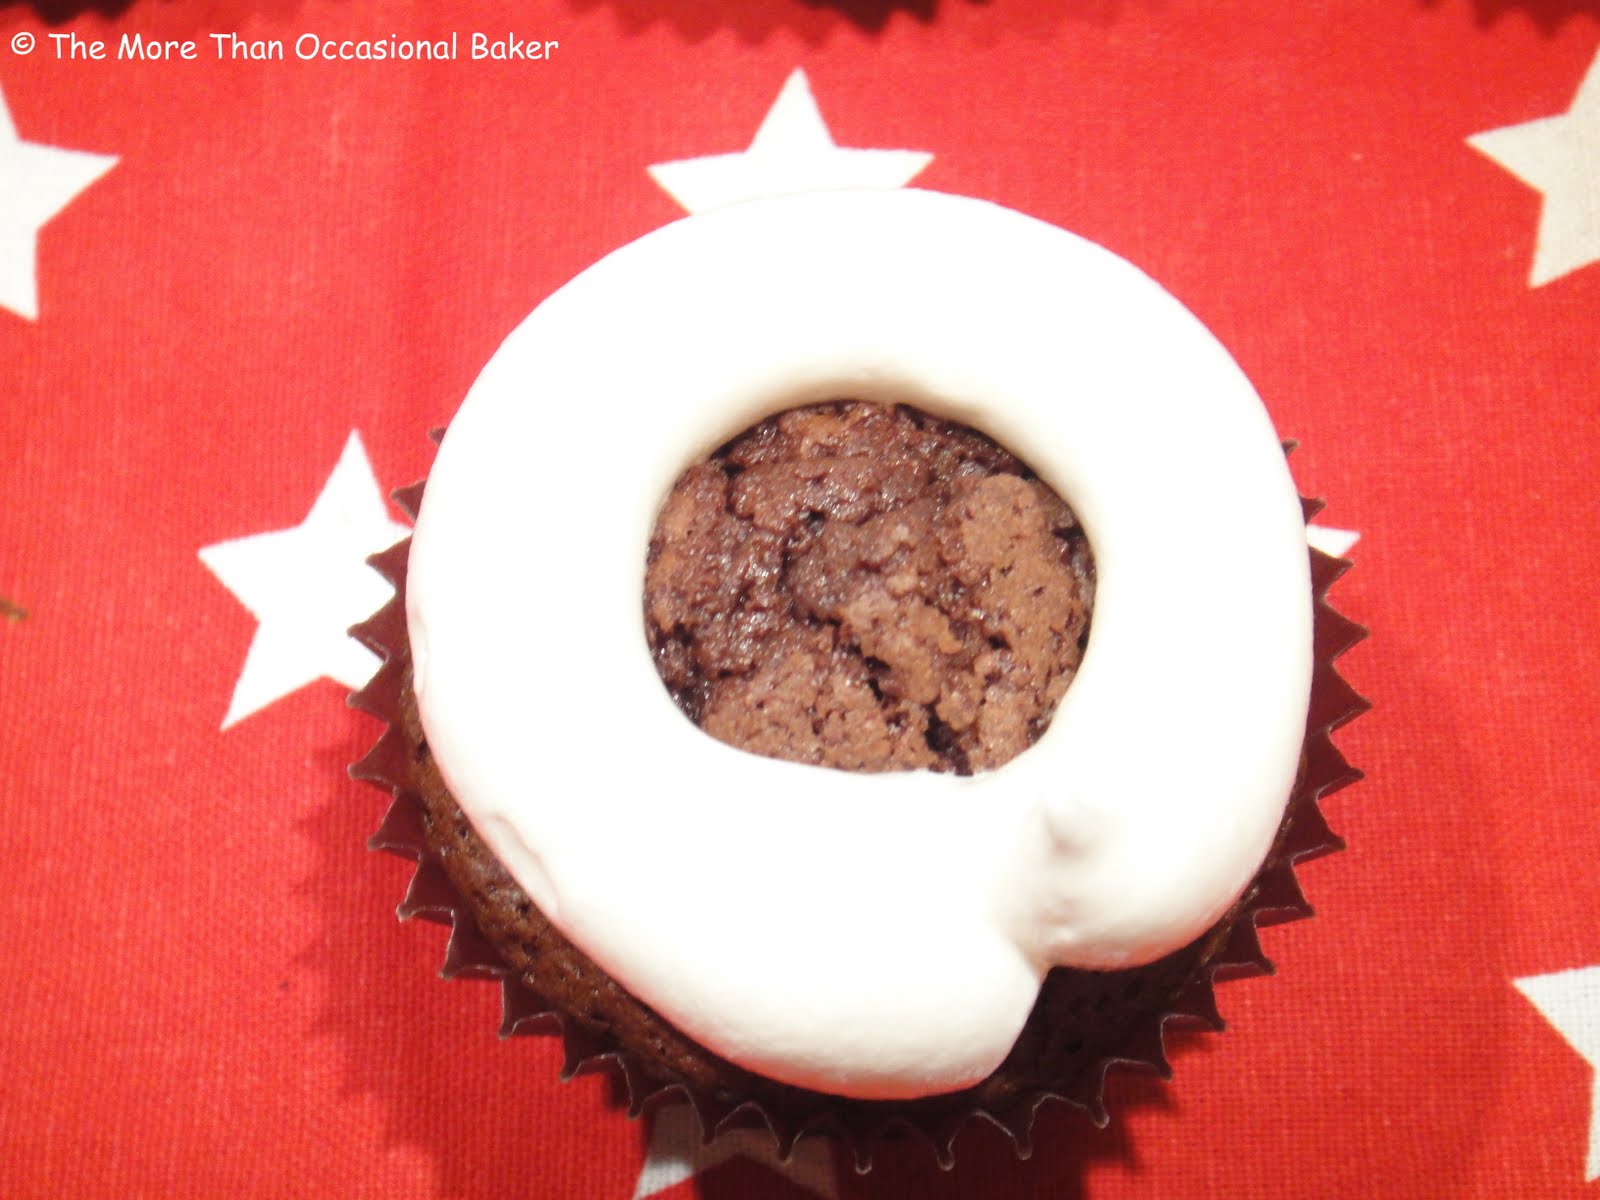
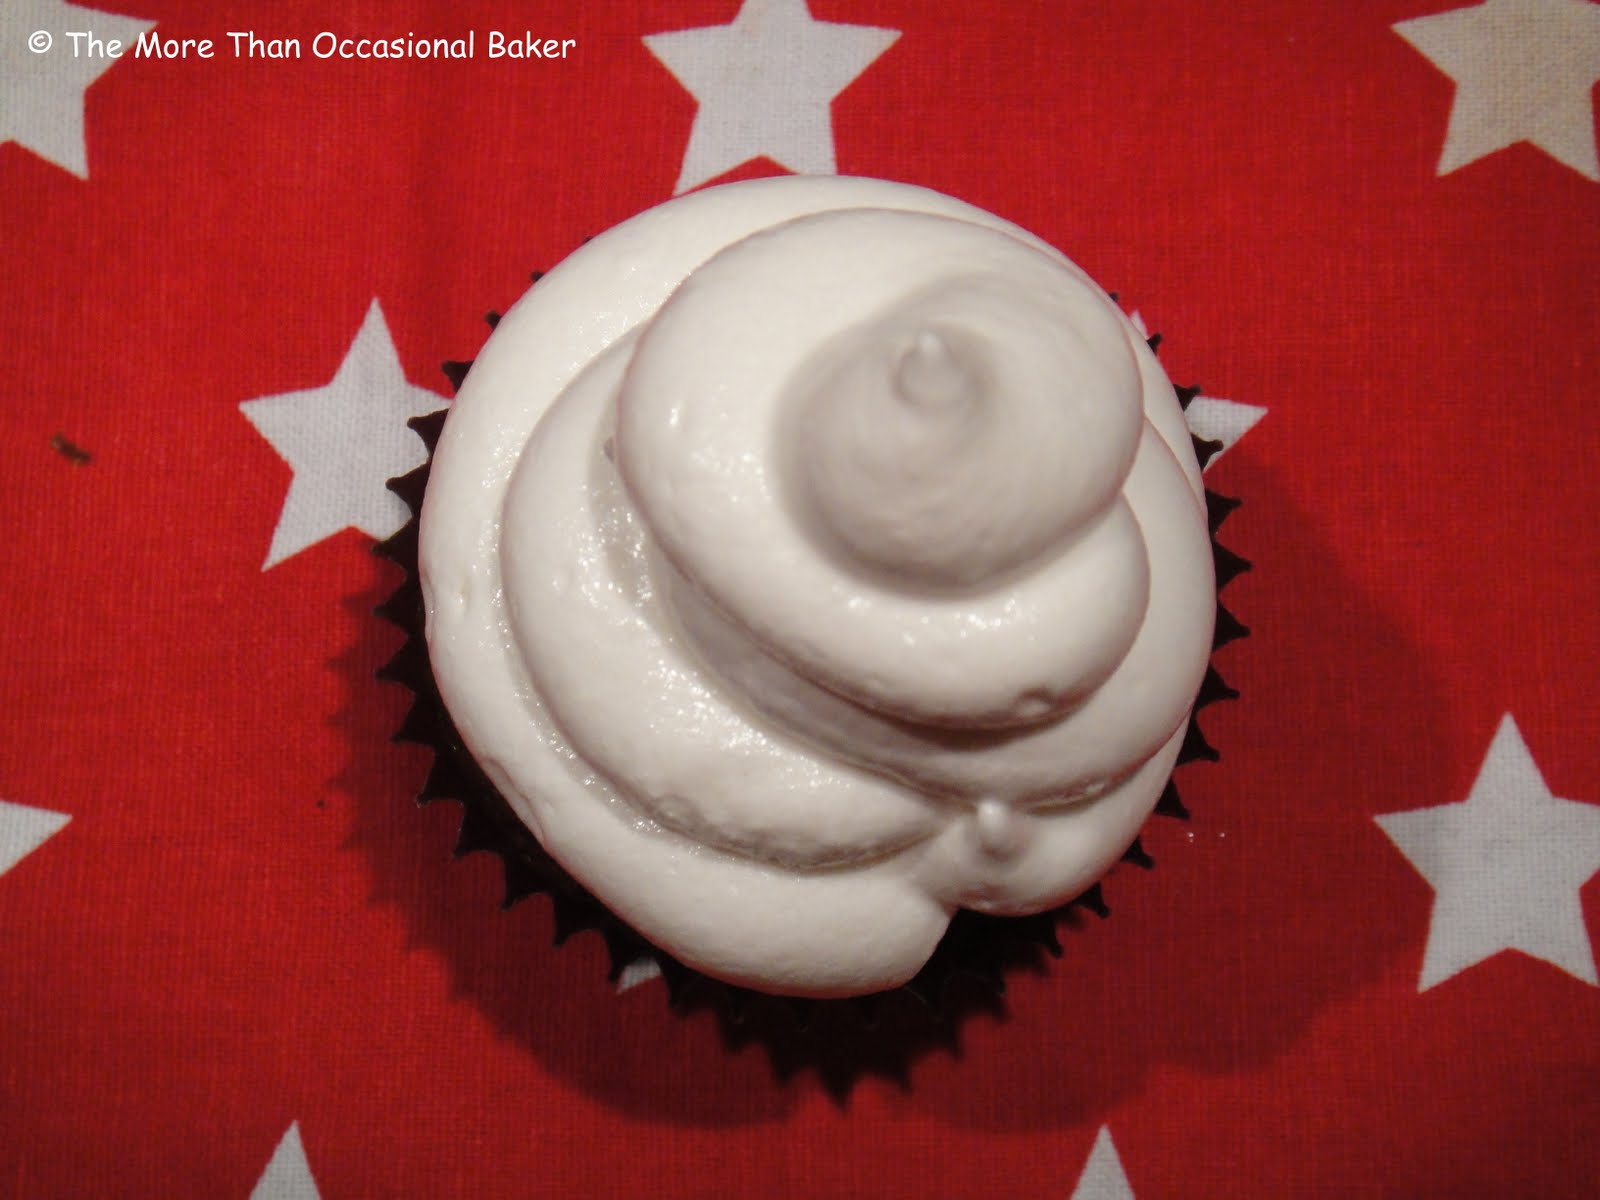
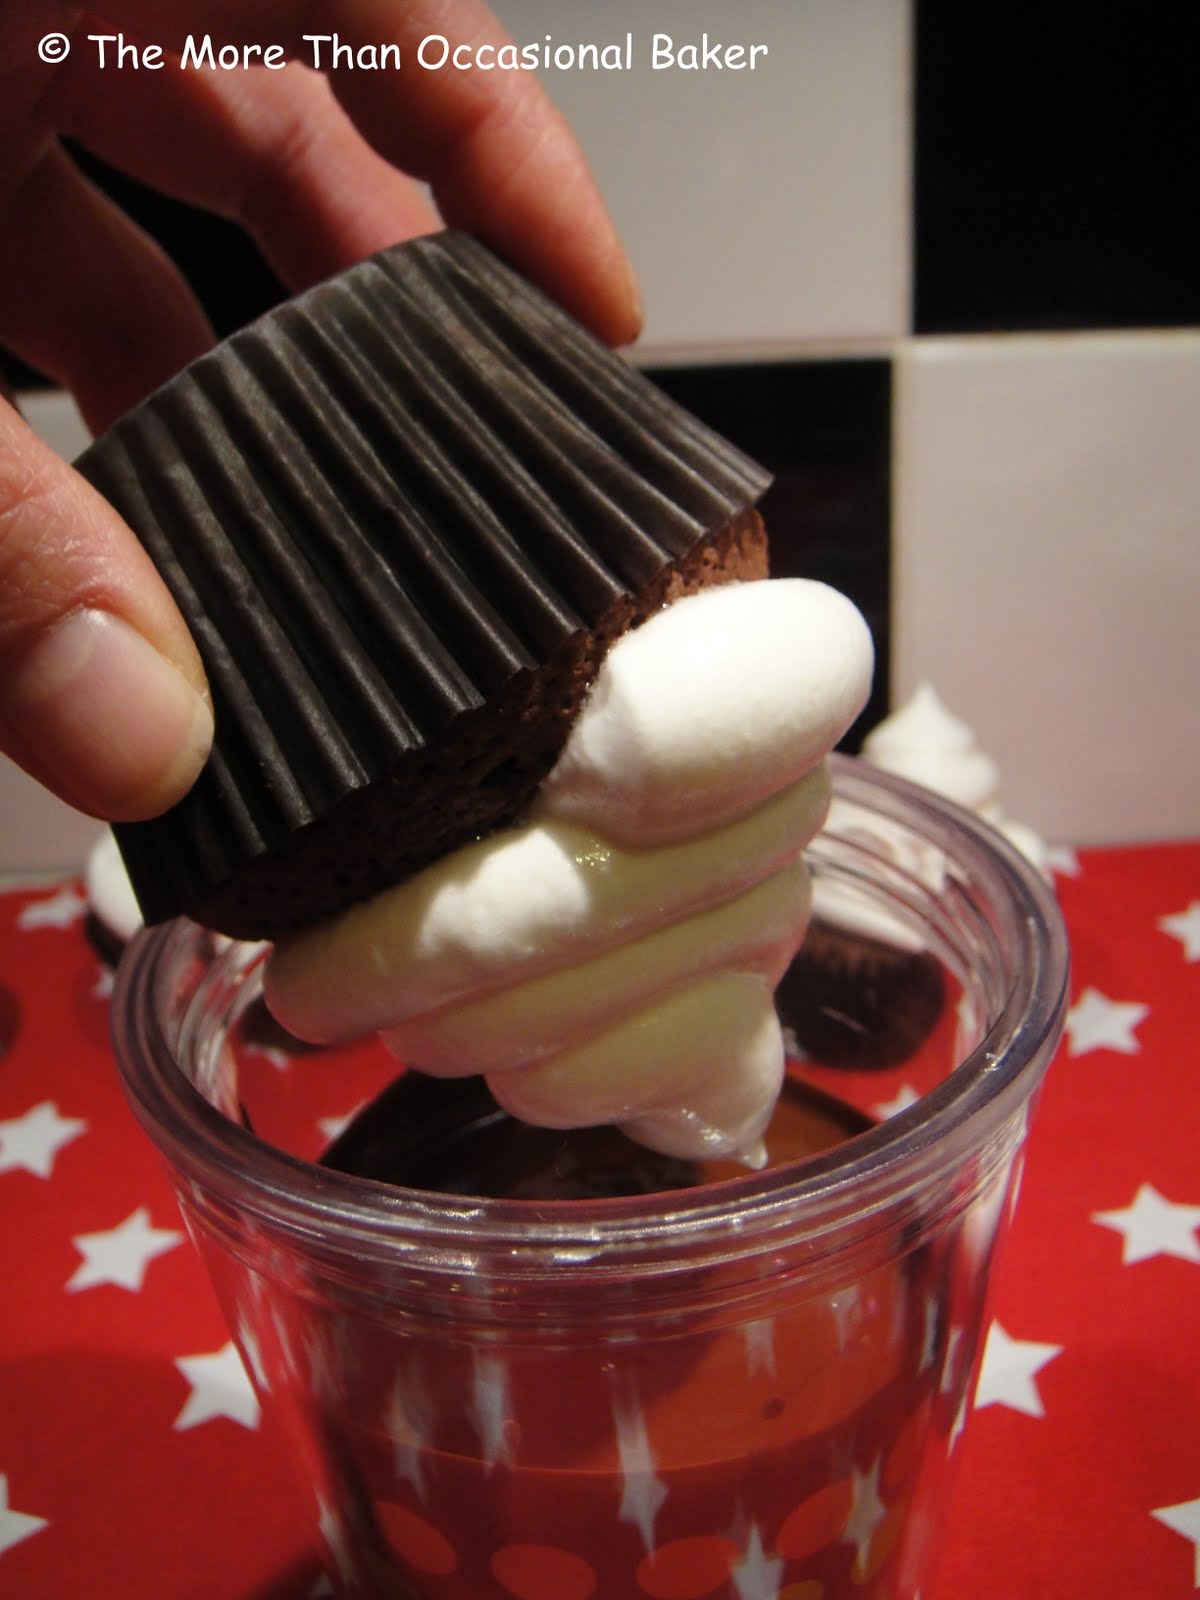
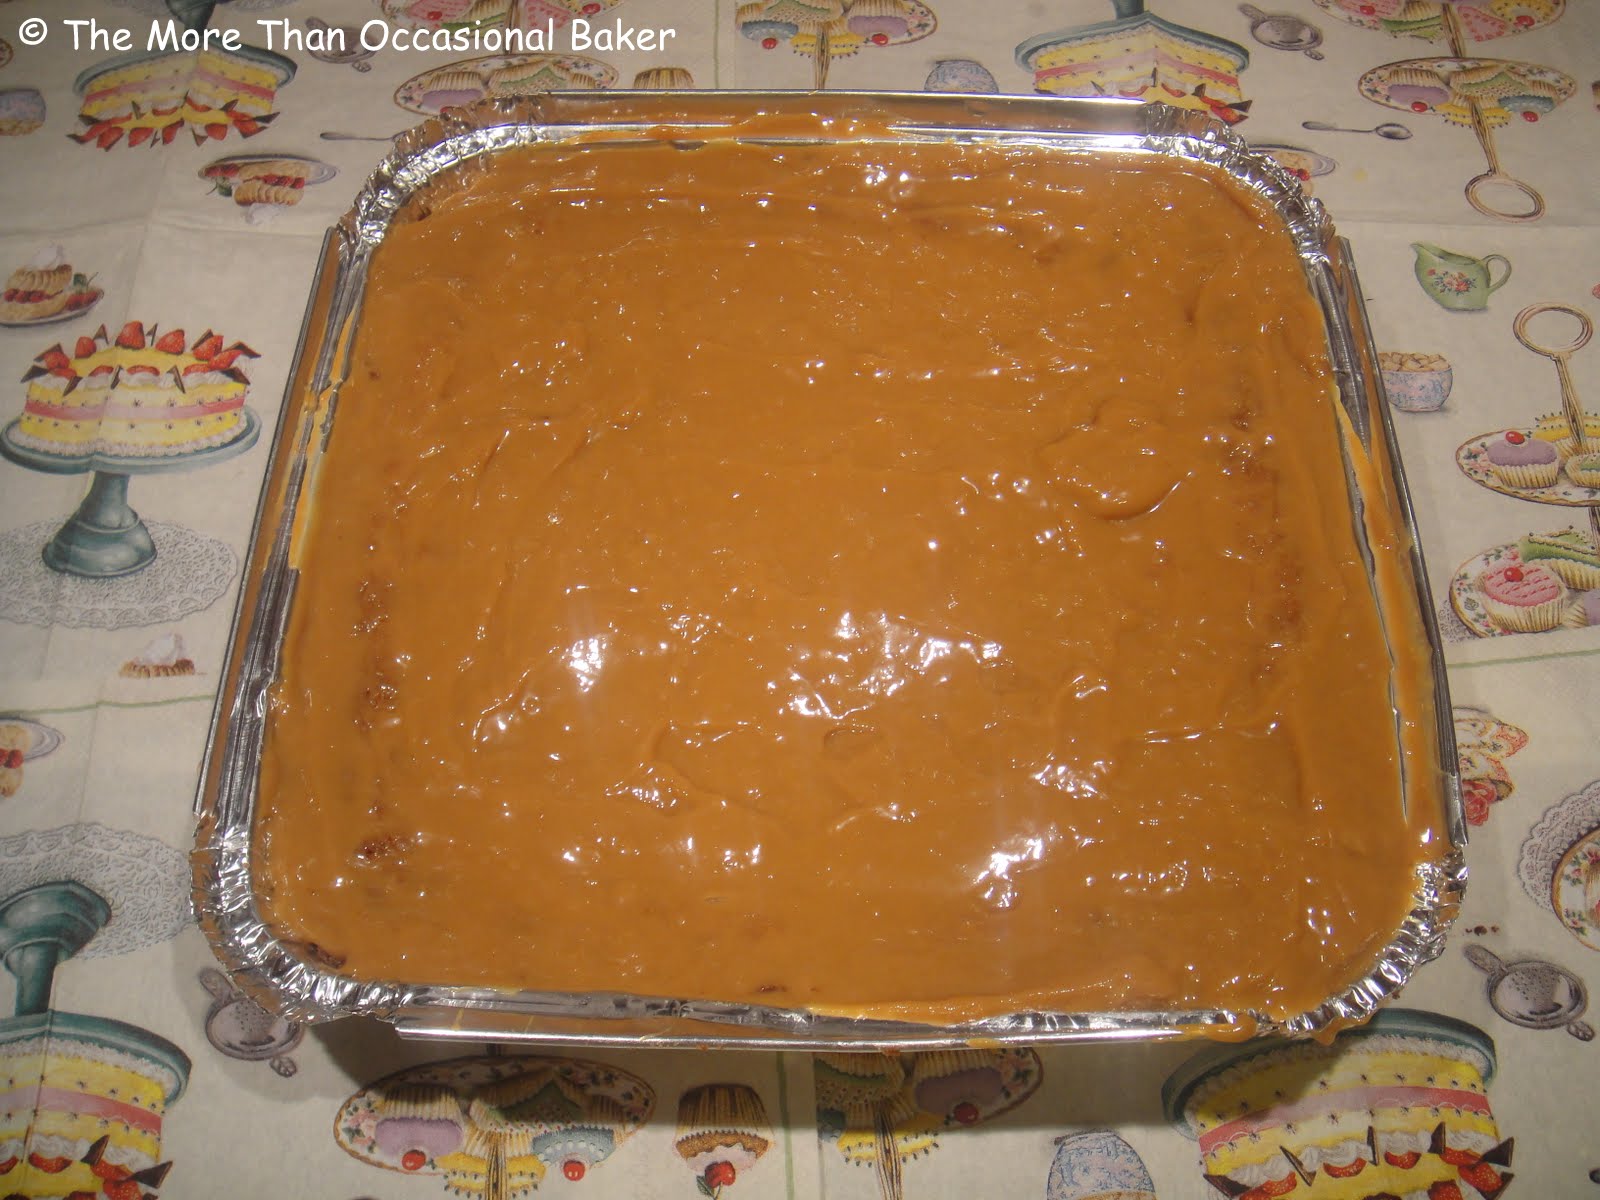
  delicious!!
Recipe adapted slightly from Food Babbles (I reduced the sugar amounts and they turned out great - please click on the link for the original recipe)
310g dark chocolate
225g butter
2 teaspoon espresso powder
150 plain flour
1 teaspoon salt
2 tablespoon cocoa powder
80g brown sugar
200g caster sugar
5 eggs
2 teaspoon vanilla extract
100g chocolate chips
- Preheat the oven to 180C.
- In a medium bowl, whisk the flour, salt and cocoa powder together.
- Put the chopped chocolate, butter and instant espresso powder in a large bowl and set it over a saucepan of simmering water, stirring occasionally, until the chocolate and butter are completely melted and smooth.
- Turn off the heat, but keep the bowl over the water and add the sugar.
- Whisk until completely combined, then remove the bowl from the pan.
- The mixture should be room temperature.
- Add 3 eggs to the chocolate mixture and whisk until combined.
- Add the remaining eggs and whisk until combined.
- Add the vanilla and stir until combined.
- Do not overbeat the batter at this stage or your brownies will be cakey.
- Sprinkle the flour mixture over the chocolate mixture and sprinkle with chocolate chips.
- Using a rubber spatula (do not whisk), fold the flour mixture gently into the chocolate until just a bit of the flour mixture is visible.
- Do not over mix.
- Pour the batter into the prepared pan and smooth the top.
- Bake in the center of the oven for 30 minutes, rotating the pan halfway through the baking time, until a toothpick inserted into the center of the brownies comes out with a few moist crumbs sticking to it. Let the brownies cool completely, then cut into squares.