I was really excited when I was invited by
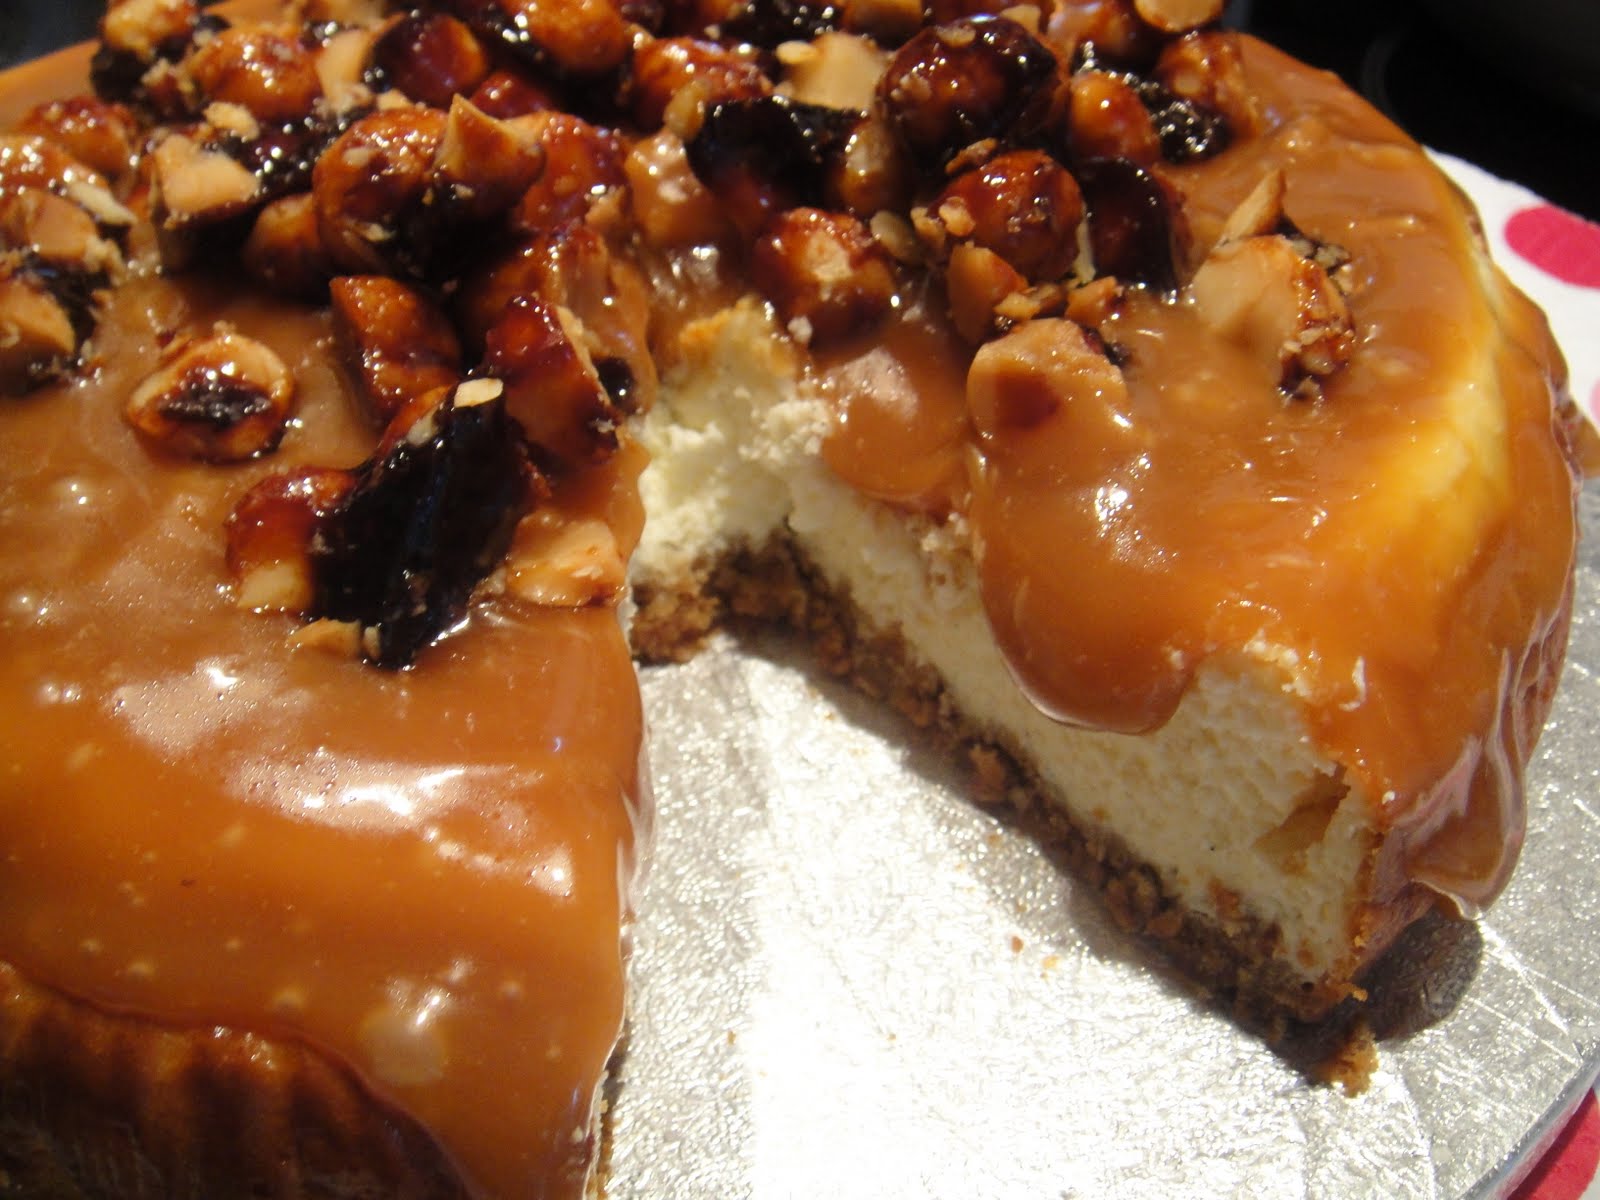
Heavenly Housewife to participate in the cheesecake challenge as Ottolenghi's caramel and macadamia cheesecake is my favourite cheesecake in the world and has been on my to bake list for far too long. I have been avoiding baking this partly because it has quite a few components to it and seemed a bit of a faff but I'm really glad I gave it a go. Plus I have had quite a few mishaps with caramel in the past. Unfortunately, it's not quite like Ottolenghi's as I was running out of time - literally finished baking today which is the deadline! and therefore made a few mistakes. I burnt the caramel :( but it still tasted ok and I think the tin I used was way too large as the base is quite thin and the cake is about half the height as the ones sold in Ottolenghi! I didn't have time or any more nuts to remake the nut topping so I just went with the burnt caramel macadamia nuts!
Despite all that, it's really delicious and I'll admit I've already scoffed a quarter of the cake!! I would definitely make this again but probably only for a special occasion or maybe one more time just to make sure I get it perfect :) If anyone wants a slice, let me know!
Do check out the other fantastic bloggers who joined in this event as I'm sure their cheesecakes are much better!

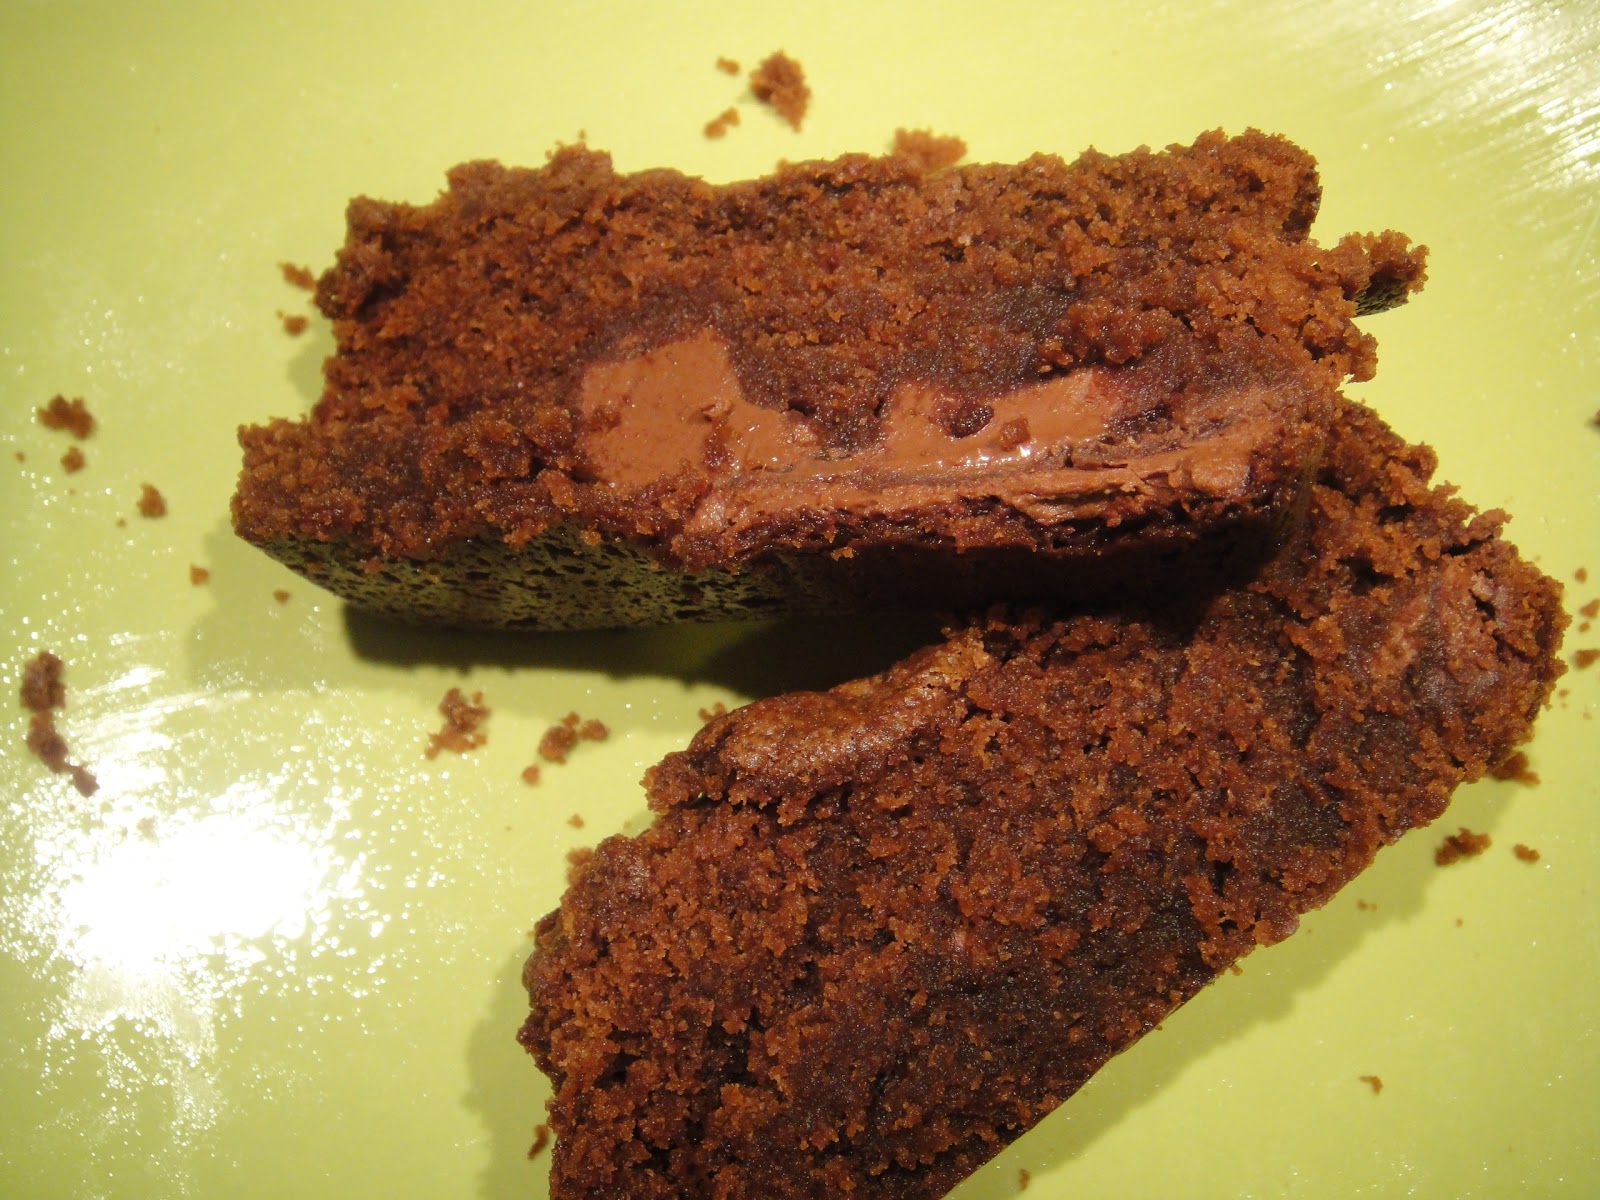
cake base

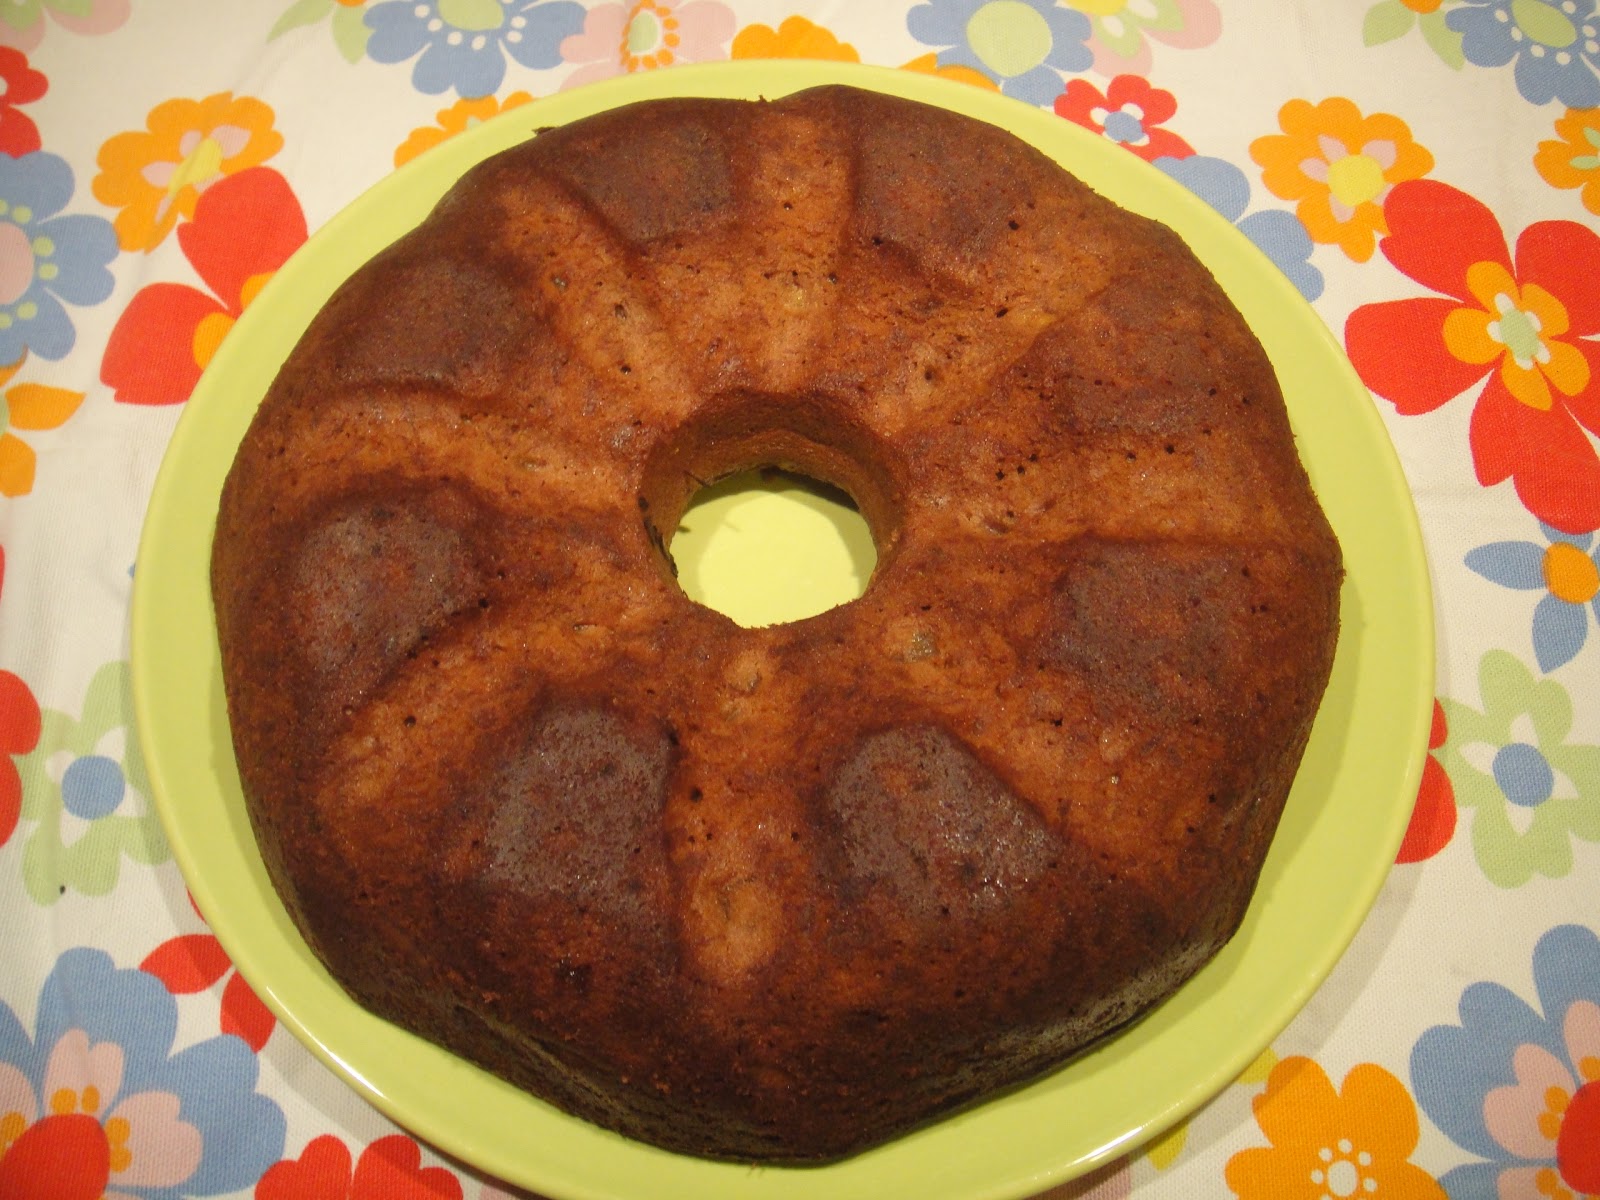
baked cheesecake

burnt caramel! you really have to watch it like a hawk

burnt caramel coated macadamia nuts

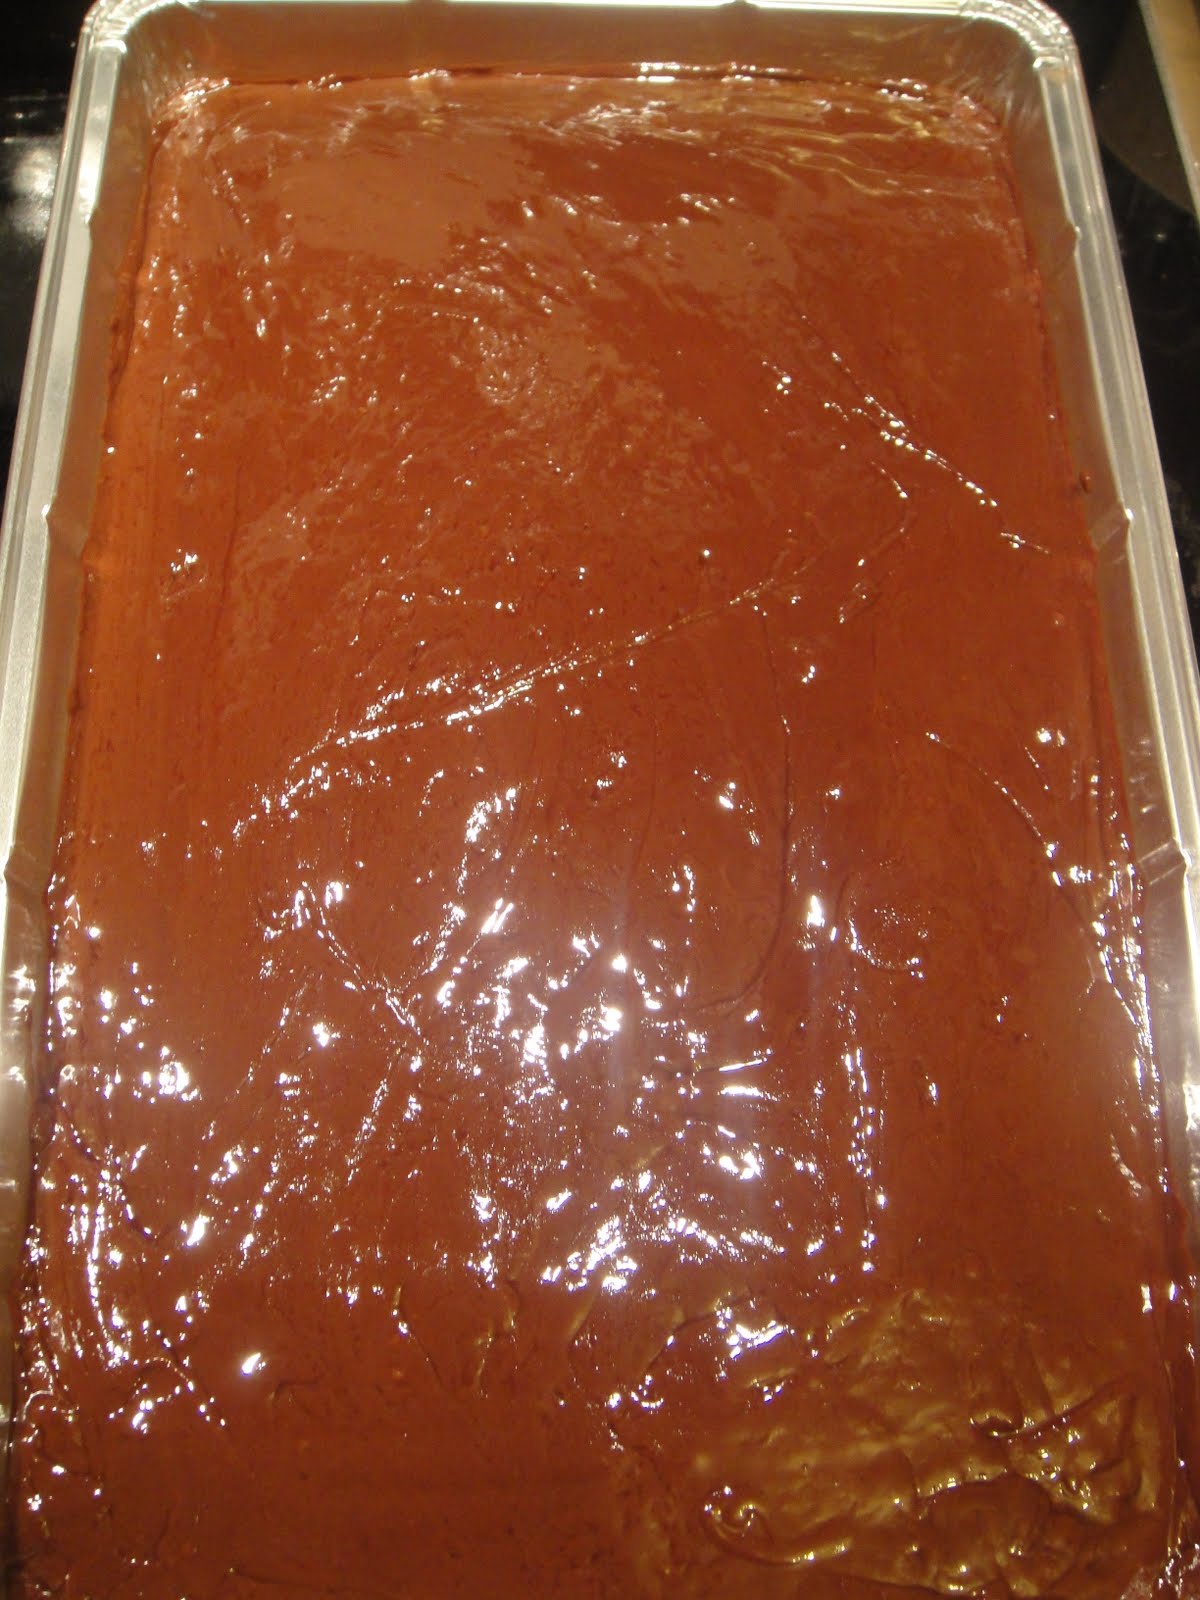
making caramel sauce- not quite ready yet

lovely caramel colour - not burnt this time! hurray

assembling the cake - chilled cheesecake which cracked in the middle

cover with caramel sauce

add macadamia nuts on top

Delicious!
Recipe from Ottolenghi's Cookbook
Serves 8-10
For the cheesecake
600g cream cheese
120g caster sugar
1/2 vanilla pod
4 eggs, lightly beaten
60ml soured cream
icing sugar for dusting
For the base
160g dry biscuits (HobNobs)
40g unsalted butter, melted
For the Nut topping
150g macadamia nuts (not enough to cover whole cheesecake of size shown)
90g caster sugar
For the caramel sauce
65g unsalted butter
160g caster sugar
100ml whipping cream
- Preheat the oven to 140C.
- Lightly grease a 20cm springform cake tin and line the base and sides with baking parchment.
- To make the base, whiz the biscuits to crumbs in a food processor (or crush in a ziploc bag).
- Mix with the melted butter to a wet, sandy consistency.
- Transfer to the lined tin and flatten with the back of a teaspoon to create a level base.
- To make the cake batter, put the sugar and cream cheese in a mixing bowl.
- Slit the vanilla pod lengthways in half, and using a sharp knife, scrape the seeds out into the bowl.
- Whisk by hand, or with an electric mixer until smooth.
- Gradually add the eggs and soured cream, whisking until smooth.
- Pour the mixture over the biscuit base and place in the oven.
- Bake for 60-70 minutes, until set - a skewer inserted in the centre should come out with a slightly wet crumb attached.
- Leave to cool to room temperature, then turn out of the tin.
- Chill the cake for at least a few hours.
- To prepare the nut topping, scatter the nuts over a baking sheet and roast in the oven at 140C for about 15 minutes, until golden.
- Remove from the oven and set aside.
- Line a baking tray with parchment paper.
- Place the sugar in a large saucepan with a very thick base (make sure the sugar is not more than 3mm high).
- Heat the sugar gently until it turns into a golden-brown caramel.
- Do not stir it at any stage.
- Don't worry if some small bits of sugar don't totally dissolve. (Note to self - watch the pan closely as it changes very quickly from brown to burnt).
- Carefully add the toasted nuts and mix gently with a wooden spoon.
- When most of the nuts are coated in caramel, pour them on to the lined tray and leave to set.
- Break bits off and chop them very roughly.
- To make the caramel sauce, put the butter and sugar in a thick-bottomed saucepan and stir constantly over a medium heat with a wooden spoon until it becomes a smooth, dark caramel.
- The butter and sugar will look as if they have split - don't worry, just keep on stirring (see pics above).
- Once the desired colour is reached, carefully add the cream while stirring vigorously.
- Remove from the heat and leave to cool.
- To finish the cake, dust the edges and sides with icing sugar.
- Spoon the sauce in the centre, allowing it to spill over a little.
- Scatter lots of caramelised nuts on top.
- The cheesecake will keep in the fridge for 3 days. (probably not in my house!)